How to install Solar Anchoring Kits
Solar Cable Management - How to Install
Our simple snap-lock hanger design with side loading function, coupled with our rapid tension messenger wire, means you can install the system quickly and easily, end to end using just hand tools.
Installation Instructions
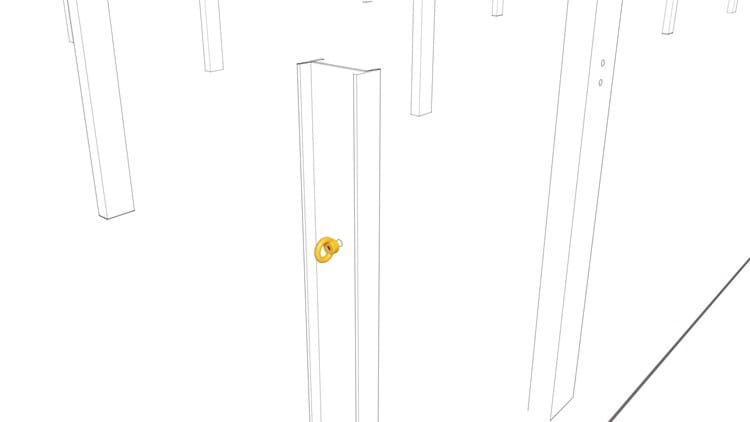
Step 1:
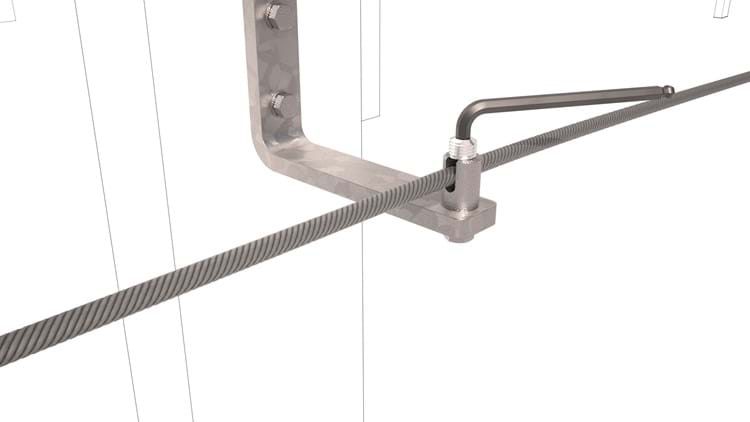
Install eye nut (or equivalent) on the end post piles to stop vertical movement of the messenger wire.
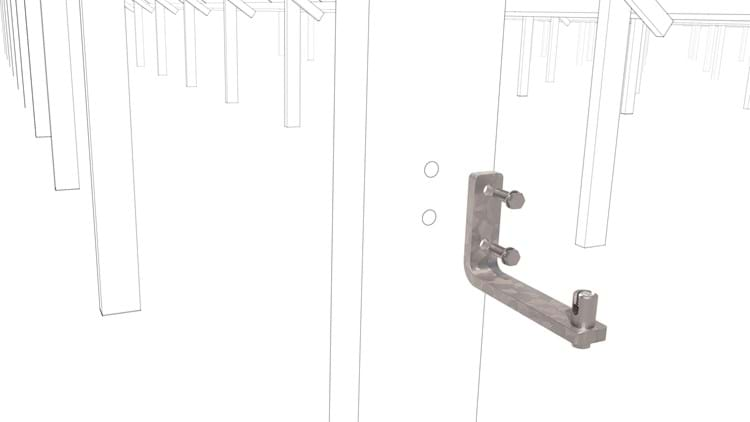
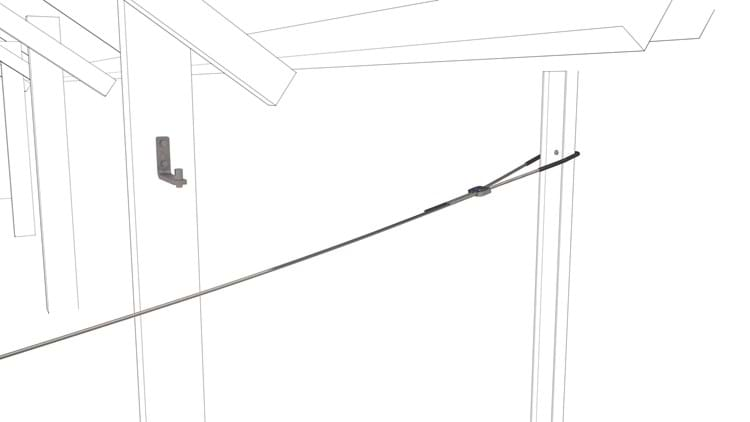
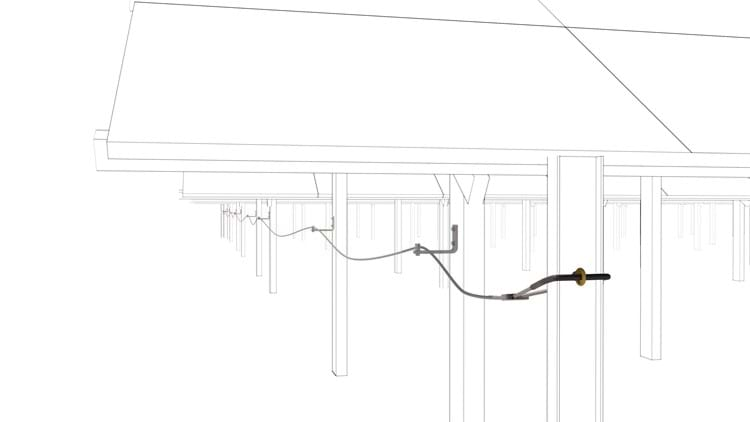
Step 2:
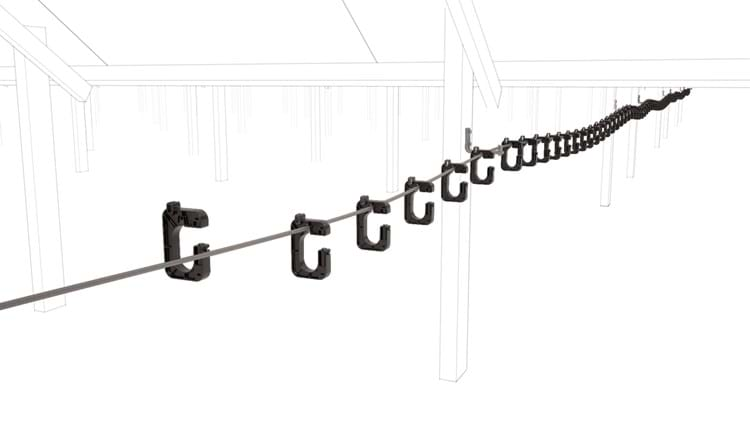
Fix messenger brackets as intermediate supports for the catenary wire. (Recommendation max. 10 m I 30 ft.)
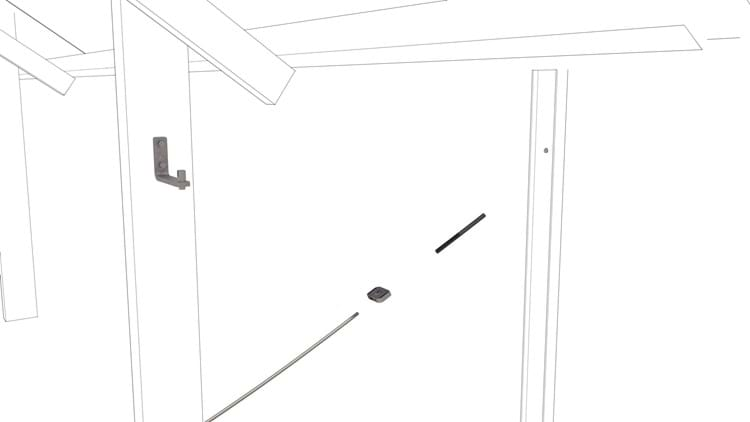
Step 3:
Insert Dynamic tensioner onto the end of the wire spool (around 1-1.2 m I 3-4 ft from the end) and feed through the protective sleeve.
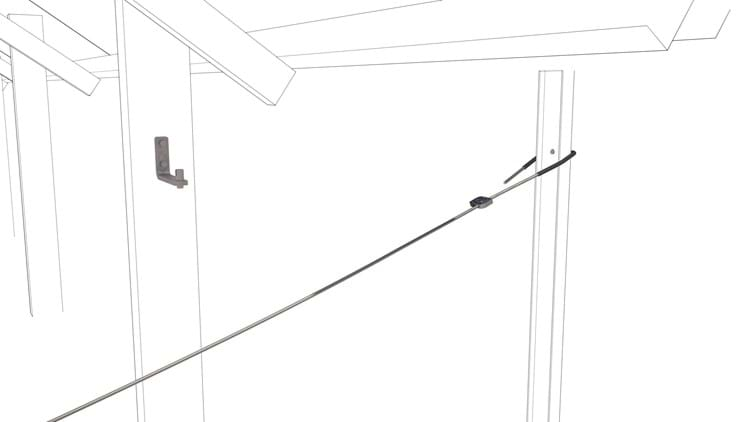
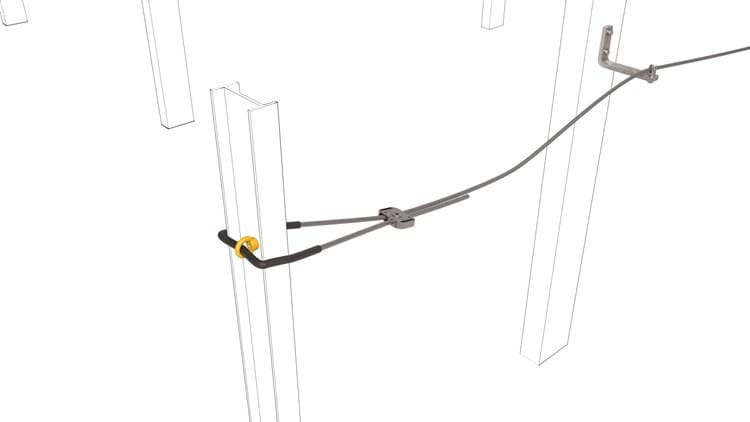
Step 4:
Loop around the first end post pile and through the eye nut or pile fixing point.
Step 5:
Insert wire back through the Dynamic tensioner to create a secure loop.
Step 6:
Drop wire into messenger brackets and loosely screw down grubscrew, working down the line.
Step 7:
Repeat steps 3-5 at the second end post pile to create a catenary with two loops.
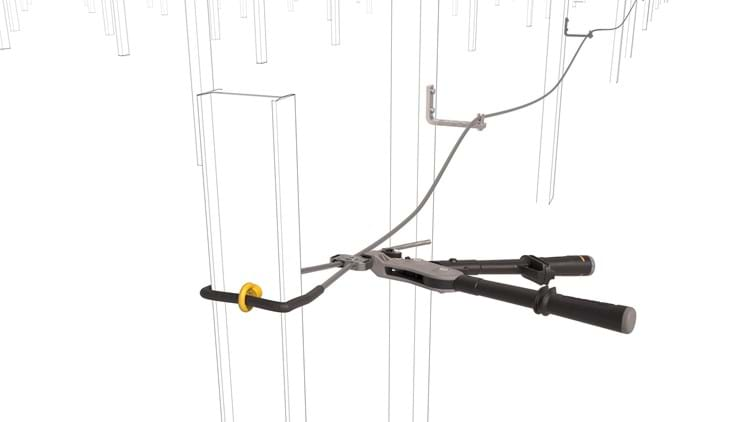
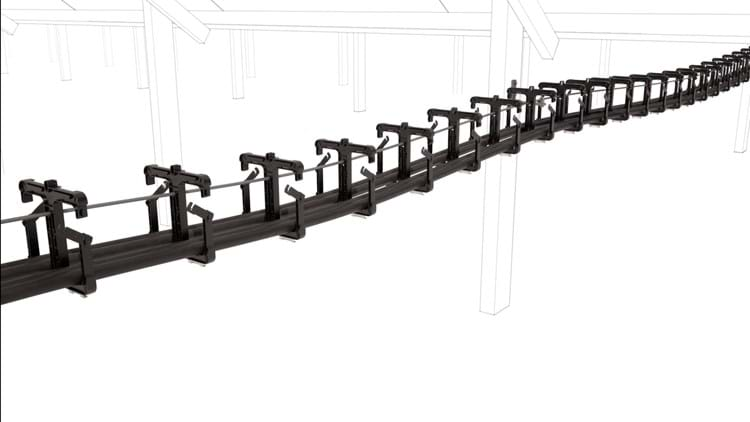
Step 8:
Use the Gripple tensioning tool to apply tension to the wire. Only engage with the ends of the wire to pull tension through the catenary.
Step 9:
When the required tension is reached, screw down hex grubscrews on all intermediate supports.
Step 10:
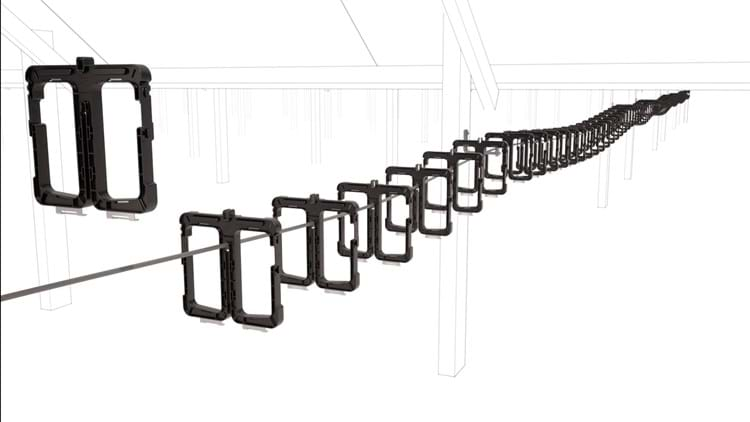
For single cavity hangers open the gate and side load hanger onto wire.
Step 11:
For double cavity hangers slot onto the wire between the two cavities.
Step 12:
Place hanger at correct distance and press down on to the wire until you hear an audible click.
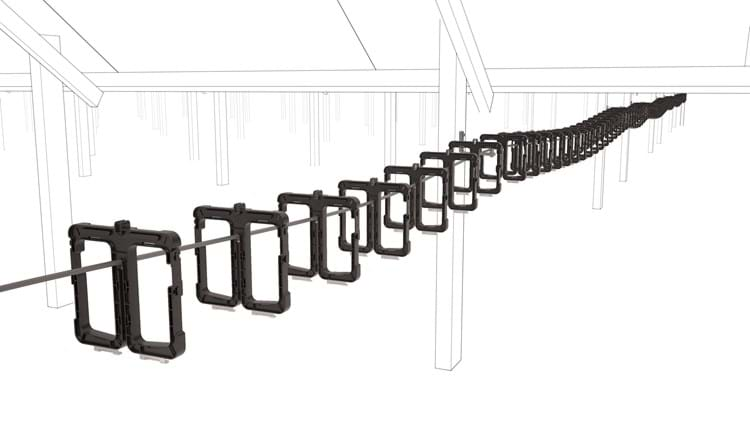
Step 13:
Repeat the process down the line keeping the required space as specified.
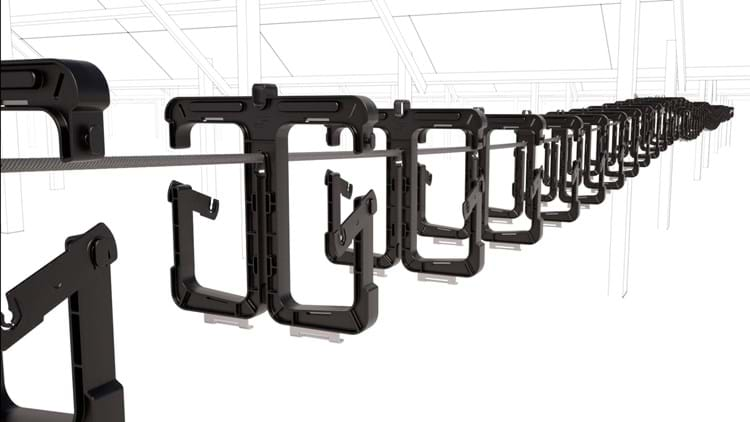
Step 14:
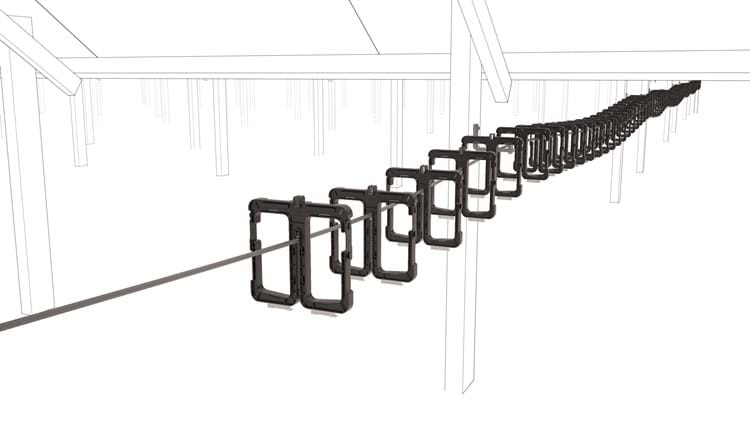
Open the gate and side load cables onto the hangers.
Step 15:
Close gates on the hangers to complete the installation.
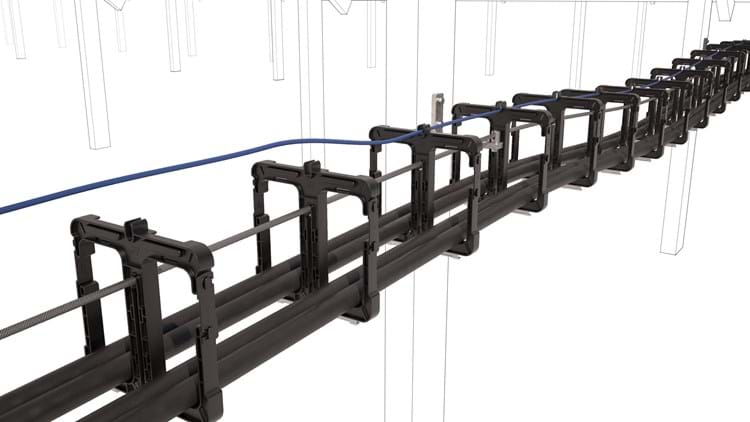
Step 16:
Optional - use the top data cable holder to secure a separate cable if needed.
Why use Gripple?
- Significant time and cost savings on your project
- Complete, off-site solutions which minimise health and safety concerns
- Innovative, patented solutions designed by an in-house team of engineers
- Considerable reductions in packaging, vehicle movements & embodied CO2
- A range of support services at every stage of your project, provided by a dedicated technical team
- Aesthetically pleasing solutions; lightweight and virtually invisible