How to install PV Anchoring
Solar Bracing Kits - How to Install
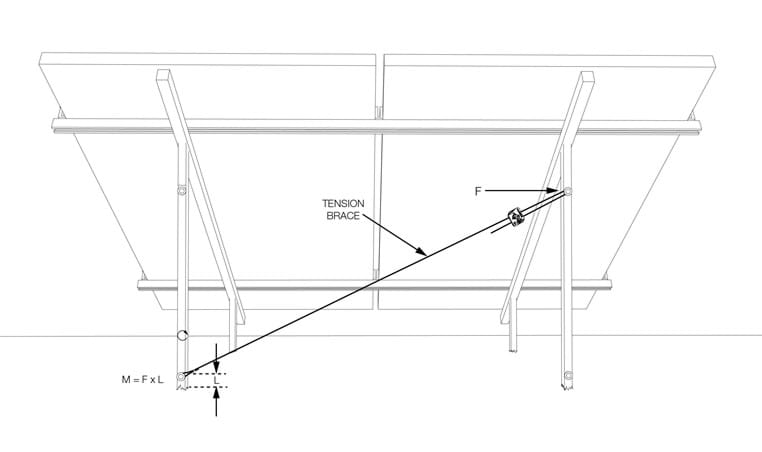
External loads, which are usually applied at the top of the structural legs, translate as a ‘moment’ at the base. The moments can often be quite large due to the length of the frames.
Our Solar Bracing Kit is designed to reduce the moments in steel frames – reducing the deflection and stress placed on the steel by transferring the force applied at the top of the structural legs into a reduced moment at the bottom. This allows engineers to decrease structural steel sections and foundations, delivering significant material savings whilst improving durability.
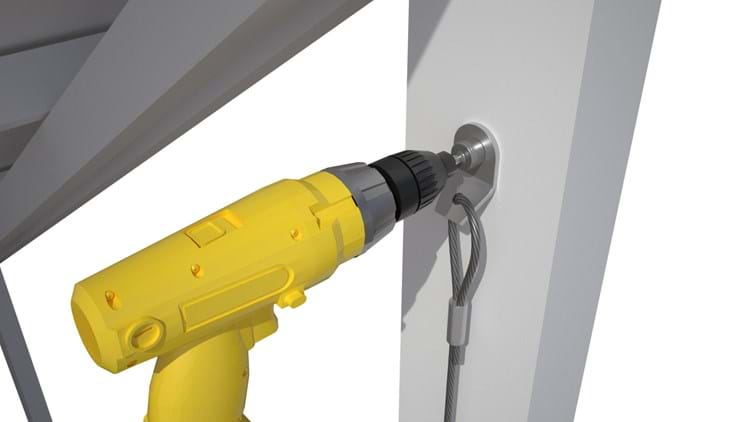
Installation Instructions - 45 degree eyelet
Step 1:
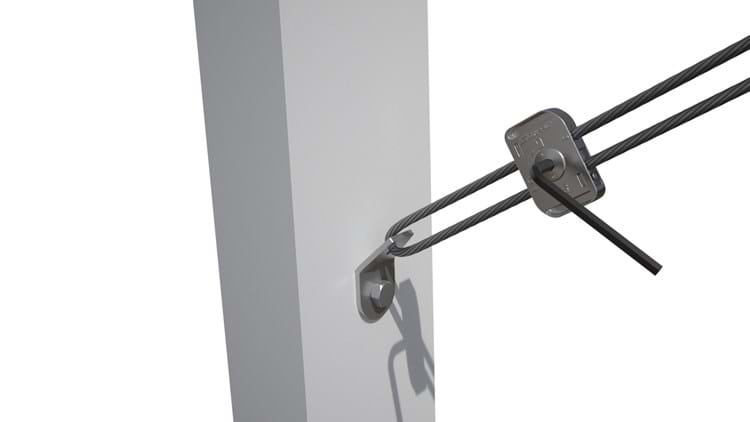
Fix eyelet end fixings to the frame.
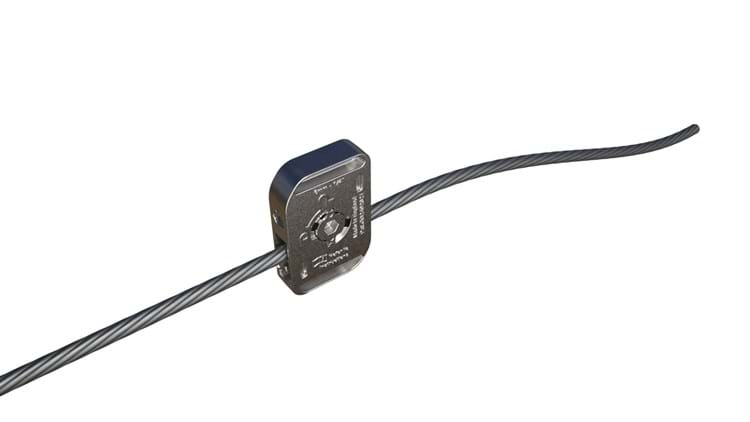
Step 2:
Slide the Dynamic tensioner onto the loose end of the wire leaving around 1m of tail wire.
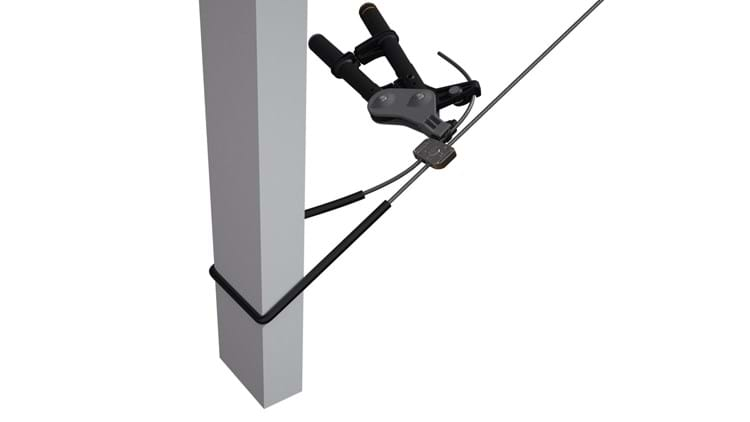
Step 3:
Pass the wire through the second eyelet and back through the Dynamic to create a loop, then pull hand tight.

Step 4:
Use the Torque Tool to apply the desired tension
Step 5:
Lock the Dynamic tensioner using the provided allen key.
Step 6:
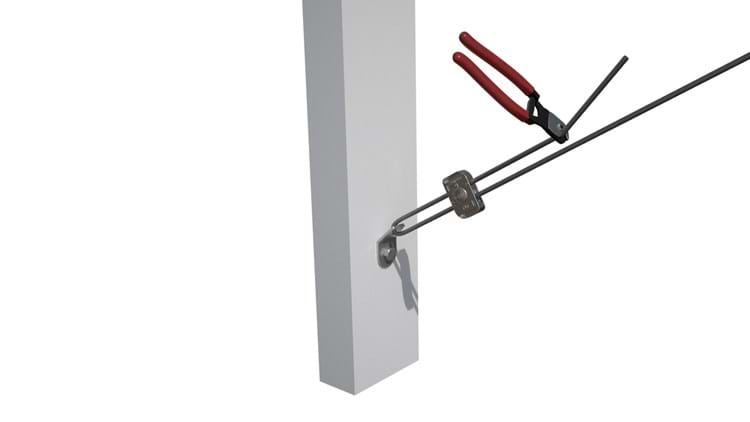
Cut any excess wire or wrap the wire around the brace to avoid waste.
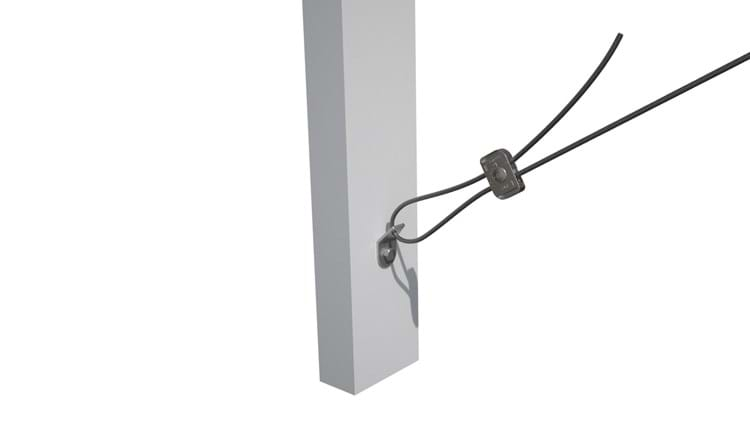
Installation Instructions - Loop
Step 1:
Add protective rubber tubing to the loose end of the wire and slide down to the loop.

Step 2:
Choke the loop end fixing around your fixing point or structure (using the protective tubing to stop abrasion).
Step 3:
Slide the Dynamic tensioner onto the loose end of the wire leaving around 1m of tail wire.
Step 4:
Add the second protective tubing to the loose end of the wire.

Step 5:
Pass the wire around the second fixing point or structure (using the protective tubing to stop abrasion) and back through the Dynamic to create a loop, then pull hand tight.
Step 6:
Use the Torque Tool to apply the desired tension.
Step 7:
Lock the Dynamic tensioner using the provided hex key.
Step 8:
Cut any excess wire or wrap the excess wire around the brace to avoid waste.
Key Benefits
- Considerable reductions in packaging, vehicle movements and embodied CO2.
- A lightweight system which minimises health and safety concerns.
- Aesthetic solutions for greener environments.
- Significant time and cost savings on your project.
- A range of support services at every stage of your project, provided by a dedicated technical team.
- Innovative, patented solutions designed by an in-house team of engineers.